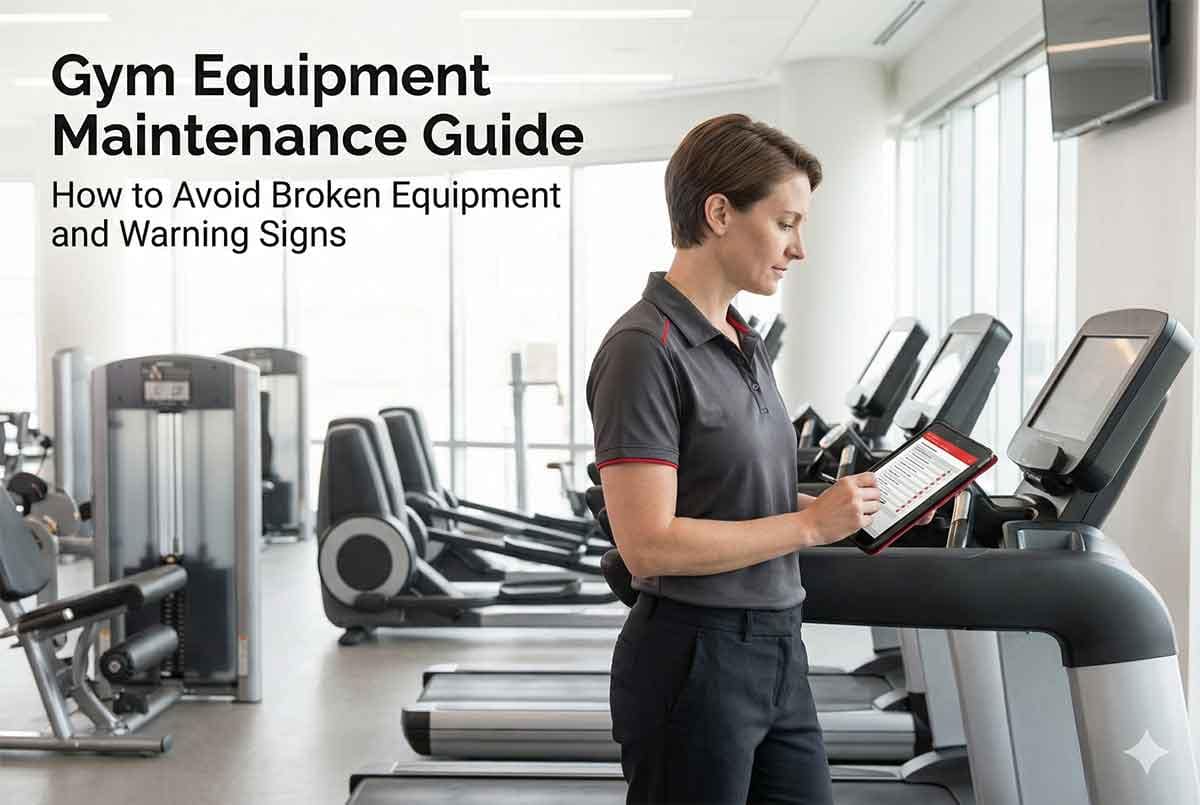
How To Replace a Treadmill Walk Belt
How to replace your treadmill walking belt and deck. Treadmills are a staple in many home gyms and fitness centers. They offer a convenient way to stay fit and healthy, regardless of the weather outside. However, like any piece of machinery, treadmills require regular maintenance to ensure they continue to function optimally. One of the most common maintenance tasks is replacing the walking belt and deck. This article will guide you through the process of treadmill walk belt and deck replacement, highlighting the signs that indicate a need for replacement, the tools required, and the steps to follow.
Financial Considerations
Replacing a treadmill belt is generally more cost-effective than purchasing a new treadmill. Here’s a breakdown of the costs involved:
New Belt Costs: A new treadmill belt typically ranges from \$150 for residential treadmills to \$300+ for commercial treadmills. For those seeking quality, a 2-ply belt can be found for about $130, offering a balance between durability and affordability.
Labor Costs: Professional replacement services usually charge between $175 to $250 per hour. Depending on the complexity of your treadmill model and the technician’s rate, the total labor cost can vary.
Cost Savings: Investing in a new belt and deck can save you hundreds to thousands of dollars compared to purchasing a brand-new treadmill. This makes belt replacement a financially savvy choice for maintaining your existing equipment.
Recognizing the Signs of Wear and Tear
Before we delve into how to replace your treadmill walking belt and deck, it’s crucial to understand when a replacement is necessary. Here are some signs that your treadmill belt and deck may need replacing:
- Slippage: If your treadmill belt slips or jerks while you’re using it, this could be a sign that it’s worn out and needs replacing.
- Lack of Lubrication:
Residential Treadmill: A well-maintained treadmill belt should be lubricated regularly. If it’s dry or the lubrication isn’t lasting as long as it used to, it might be time for a new belt.
Commercial Treadmill: It usually does not require lubrication. Contact your manufacturer’s tech support if you have questions.
- Smoothness: Run your hand along the surface of the belt. If it feels smooth or worn, it’s likely time for a replacement.
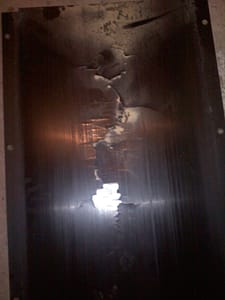
- Visual Damage: Look for visible signs of wear and tear, such as fraying, tears, or discoloration.
Tools Required to Replace Your Treadmill Walking Belt and Deck
Before you start the replacement process, gather the necessary tools. These may vary depending on your treadmill model, but typically include:
- Allen Wrench
- Phillips Screwdriver
- Box Wrench
- Pliers
Replacing the Treadmill Walking Belt
Step 1: Disconnect the Treadmill
For safety reasons, always start by disconnecting the treadmill from the power source. This prevents any accidental starts while you’re working on it.
Step 2: Remove the Motor Hood
When removing the motor hood be very careful not to damage exposed wires and circuit boards.
Step 3: Mark the Roller Position
Using your marker or felt tip, mark the position of the front and back rollers. This will help you realign everything correctly when you install the new belt.
Step 4: Loosen the Walking Belt
Next, you’ll need to loosen the walking belt. This is typically done by adjusting the rear roller bolts.
Step 5: Remove the Deck Bolts
Locate the bolts attached to the underside of the treadmill on the deck. Remove these bolts to free the deck and belt. You may have to remove the side rail covers first, depending on your model treadmill.
Step 6: Remove the Rear Roller
With the deck bolts removed, you can now take out the rear roller. This will allow you to remove the old belt.
Step 7: Replace the Running Belt
Slide the new belt over the deck, ensuring it’s centered. Then, replace the rear roller, aligning it with the marks you made earlier. If you are installing a residential treadmill you will need treadmill belt lubricant.
If the deck has grooves from excessive wear or damage such as a crack, replace the deck at this time.
Step 8: Tighten the Belt
Once the new belt is in place, you’ll need to tighten it. This is done by adjusting the rear roller bolts. See our article on adjusting a treadmill walk belt. Treadmill belt slipping is dangerous. This is an important step.
Step 9: Check the Belt
After tightening, check the belt to ensure it’s centered and not too tight or too loose. Make any necessary adjustments.
Step 10: Test the Treadmill
Finally, reconnect the treadmill to the power source and test it at a slow speed. Check for any slippage or misalignment and adjust as necessary.
Conclusion
Replacing your treadmill walking belt and deck is a crucial part of maintaining your fitness equipment. By recognizing the signs of wear and tear and knowing how to replace these parts, you can extend the lifespan of your treadmill and ensure a safe and effective workout. Remember, always consult your treadmill’s user manual or a professional if you’re unsure about any part of the process.
FAQ — Treadmill Walking Belt & Deck Replacement
Q1: How do I know when it’s time to replace my treadmill walking belt and deck?
You should consider replacing the belt and deck if you notice belt slippage, jerky movement, dry surfaces with poor lubrication, a smooth worn feel, or visible damage such as fraying or tears.
Q2: Is replacing the walking belt and deck worth the cost?
Yes — installing a new belt and deck can be much more cost-effective than buying a new treadmill, saving you hundreds to thousands of dollars.
Q3: What tools do I need for treadmill belt and deck replacement?
Typical tools include an Allen wrench, Phillips screwdriver, box wrench, and pliers — though your treadmill model may require additional tools.
Q4: Can I replace the treadmill belt and deck myself?
DIY replacement is possible if you’re comfortable with tools and safety procedures, but always follow the steps carefully — and consult a professional if unsure.
Q5: What safety step should I always do before starting?
Always disconnect the treadmill from the power source before beginning to avoid accidental starts during the replacement process.