Knowing How to Adjust Your Treadmill Belt Is Important.
A treadmill is a fantastic piece of equipment that allows for uninterrupted running, regardless of the conditions outside. However, knowing how to adjust your treadmill belt ensures optimal performance, so it’s crucial to maintain your treadmill properly. One common issue treadmill owners face is a misaligned or loose belt. This article will guide you on how to adjust a treadmill belt, whether it’s new or old, and discuss the proper tensioning of the belt.
Adjusting a New Treadmill Belt
Step 1: Unplug and Prepare Your Treadmill
Before performing any maintenance on your treadmill, make sure to turn off your machine and unplug it from the wall. This is a crucial safety step that should not be overlooked.
Step 2: Identify the Adjustment Bolts
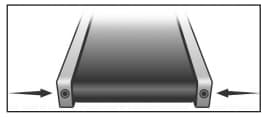
Locate the rear roller adjustment bolts at the back of the treadmill. These bolts are typically hex screws, so you’ll need an Allen wrench or hex key to adjust them.
Step 3: Adjust your Treadmill Belt
To tighten the belt, turn your Allen wrench one-quarter clockwise on both sides of the treadmill belt. To loosen the treadmill belt, simply turn the Allen wrench counter-clockwise. Remember to adjust each screw to the same number of turns to keep the belt centered.
Adjusting a New Treadmill Belt
Step 1: Unplug and Prepare Your Treadmill
Before performing any maintenance on your treadmill, make sure to turn off your machine and unplug it from the wall. This is a crucial safety step that should not be overlooked.
Step 2: Identify the Adjustment Bolts
Locate the rear roller adjustment bolts at the back of the treadmill. These bolts are typically hex screws, so you’ll need an Allen wrench or hex key to adjust them.

Step 3: Adjust the Treadmill Belt
To tighten the belt, turn your Allen wrench one-quarter clockwise on both sides of the treadmill belt. To loosen the treadmill belt, simply turn the Allen wrench counter-clockwise. Remember to adjust each screw the same number of turns to keep the belt centered
Adjusting a New Treadmill Belt
Step 1: Check the Belt Condition
Before adjusting an old belt, check its condition. If the belt is frayed or shows signs of wear and tear, it may need to be replaced. Using a treadmill with a damaged belt can be dangerous.
Step 2: Adjust the Belt
If the belt is in good condition, follow the same steps as adjusting a new belt. Remember to turn each screw no more than a quarter turn at a time. Keep adjusting until the belt does not slip and is centered between the two boards.
Properly Tensioning the Treadmill Belt
The tension of the treadmill belt is crucial for optimal performance. A belt that’s too tight can cause unnecessary wear and tear on the treadmill motor, while a belt that’s too loose can slip or hesitate during use. The belt should be tight enough that it doesn’t slip, but loose enough that you can lift it about 2-3 inches from the treadmill deck.
Excessively Tensioned Belt: What to Do?
If the treadmill belt is excessively tensioned, it can lead to premature wear and tear on the treadmill components. To fix this, simply loosen the belt by turning the adjustment bolts counterclockwise.
Replacing a Treadmill Belt
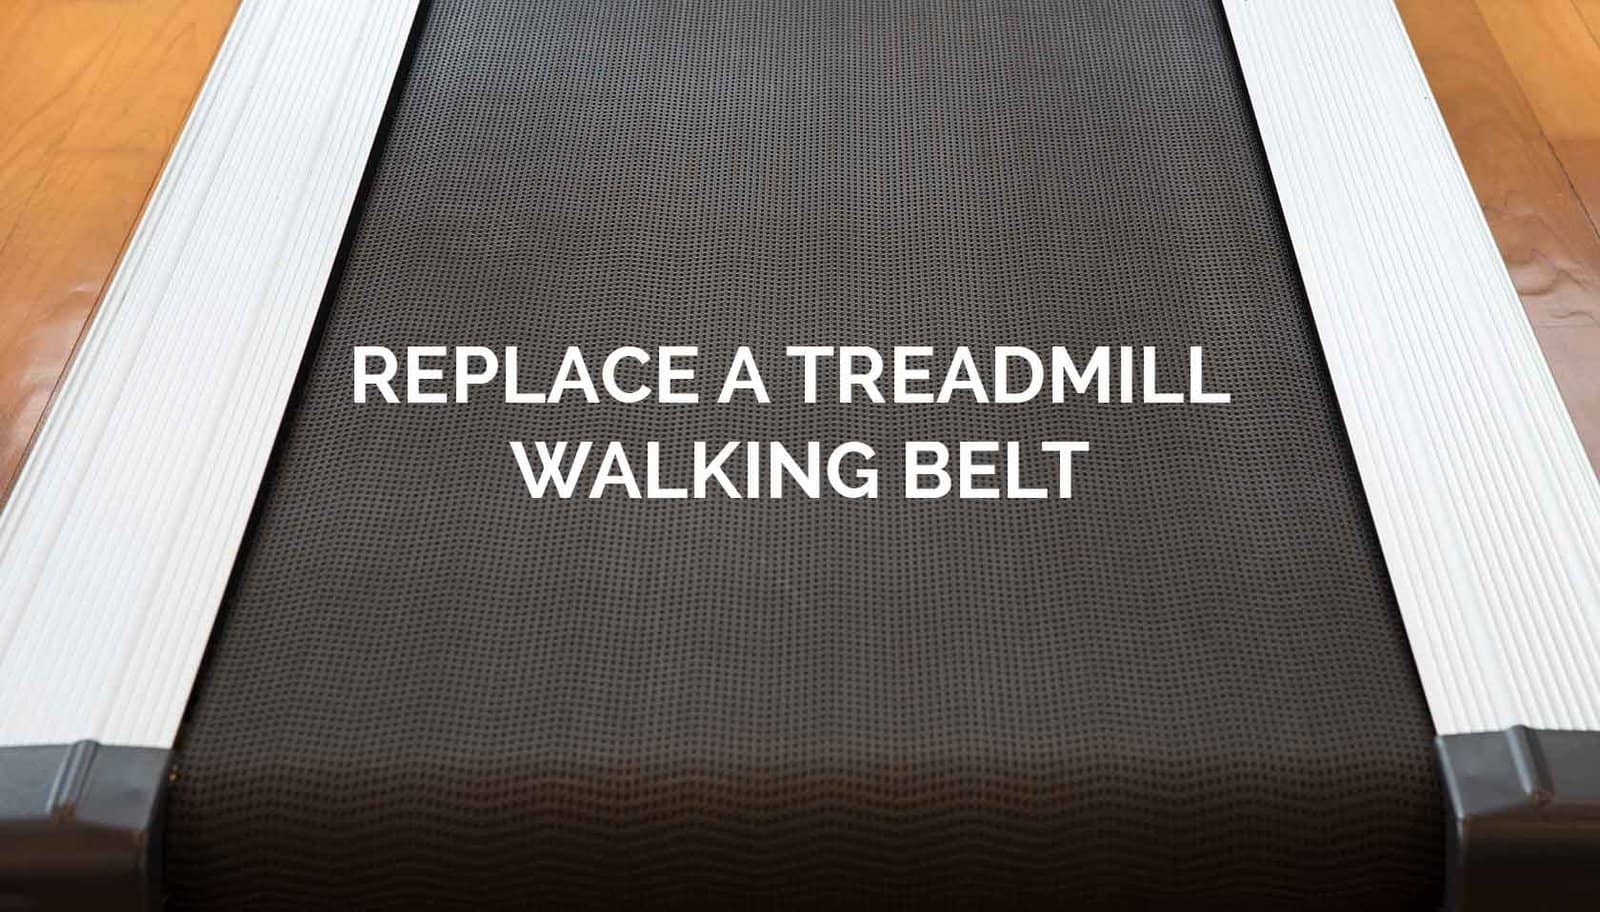
If your treadmill belt is worn out or damaged, it’s time for a replacement. Contact the manufacturer or distributor for specific instructions on replacing the belt. Some high-end treadmills may require a certified fitness service professional for belt replacement.
Maintaining the proper tension and alignment of your treadmill belt is crucial for the longevity of your machine and the effectiveness of your workouts. Regular checks and adjustments can help keep your treadmill in top shape. Remember, when in doubt, don’t hesitate to reach out to a professional for help.
